Enable 2FA for Firefox
First, launch Firefox and go to your Firefox account preferences and click the Manage account link.
Then under your account name, you should see “Two-step authentication” on the panel — click the Enable button. Keep in mind that 2FA is still rolling out to everyone. So, if you don’t see the option here, Mozilla suggests that you add &showTwoStepAuthentication=true to the end of the URL and refresh the page.
Next, scan the QR code with a compatible authenticator app like Google Authenticator or Authy and type in the security code it provides.
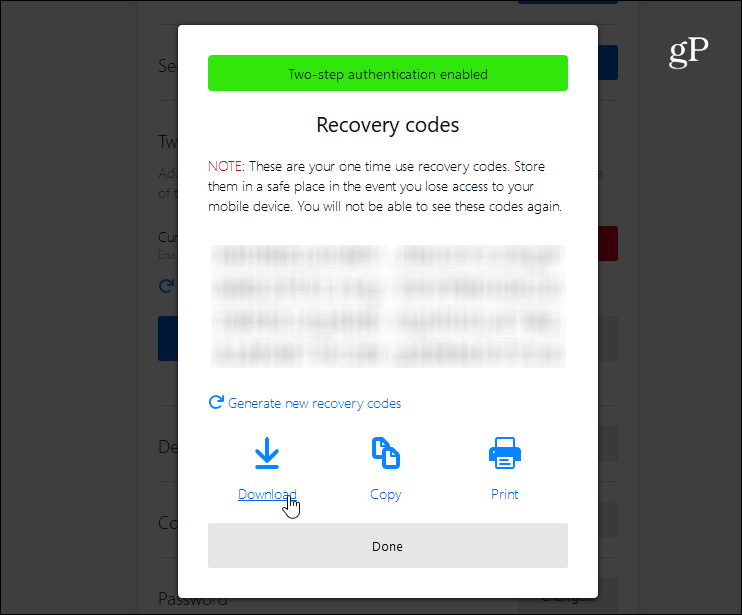
After entering the code you will get a list of recovery codes that you can use in the future if you lose your phone or it’s not available. Make sure to either print or copy them to a convenient but secure location. You will also receive an email from Mozilla letting you know that two-factor has been enabled for your account.
That’s all there is to it. The next time you log in to your Firefox account on another PC, you will be asked to use your authenticator app to generate a code to type in.
Since so much of our data is online now, it’s more important than ever to use strong passwords, 2FA, and other tools to secure our information. For more on other popular services where you can enable 2FA and why you should, read our Two-Factor Authentication Guide to secure your online life. We try to keep up with most of the major services that provide the extra security, but if you are curious if a service you use offers two-factor, a great resource to check out is twofactorauth.org which has a constantly updated list.
![]()


