If you use a Mac, it’s possible to install a new SSD. An SSD on its own isn’t much use, however. You’ll need to install macOS onto it to get your Mac up and running again. There are several ways to do so, and we’ll take a look at some of them below. If you’re ready to make the upgrade, then here’s how to install macOS on a new SSD.
How to Install macOS on a New SSD Using macOS Recovery
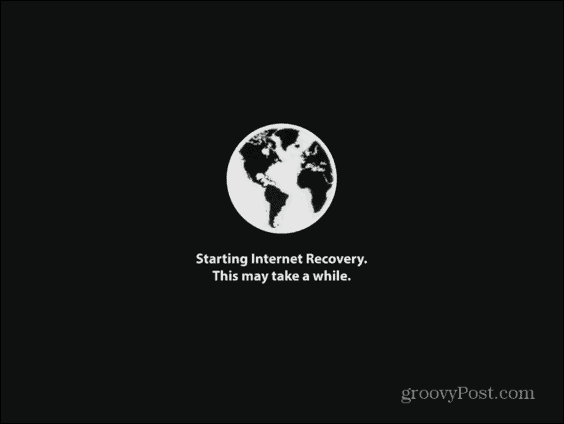
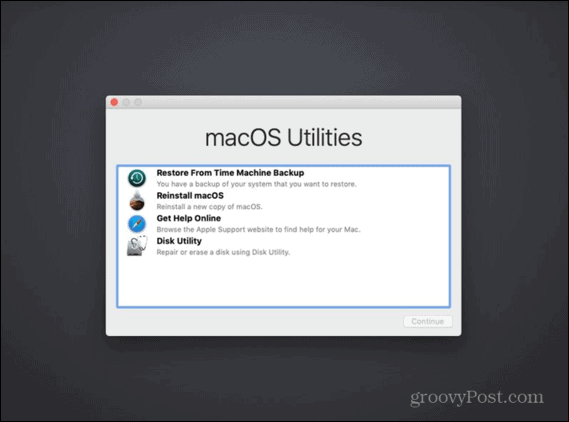
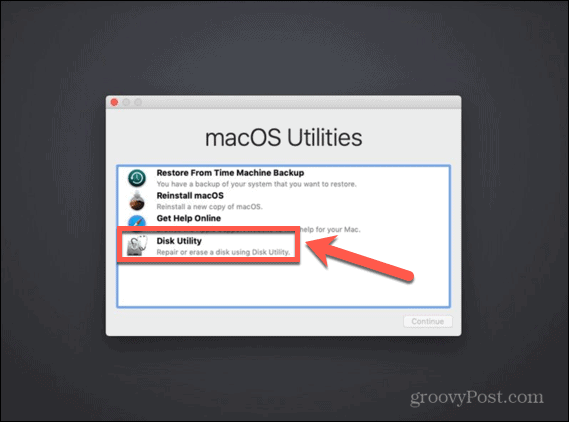
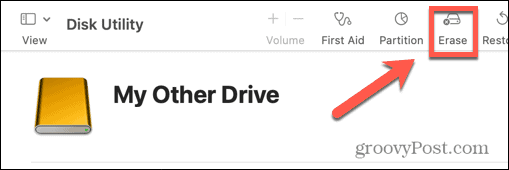
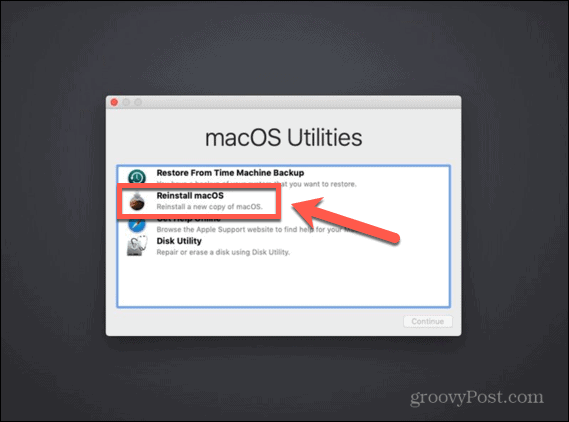
On any Mac made after 2009, there is a built-in recovery system. This allows you to boot your Mac into recovery mode. In this mode, you can repair your internal disks, restore files from a Time Machine backup, get online help, or reinstall macOS. You must be able to connect to the internet in order to use these tools. You can use the macOS installation tool to install macOS on a new SSD that you have installed in your computer. To install macOS on an SSD using Internet Recovery:
How to Install macOS on a New SSD With a Bootable Installer
Another option for installing macOS onto your new SSD is to create a bootable installer. This is particularly useful if you want to install macOS on multiple computers, as it saves you from downloading the installer each time. You’ll need a flash drive or external disk drive with at least 15 GB of free space. It should be formatted as Mac OS Extended.
How to Create a Bootable macOS Installer
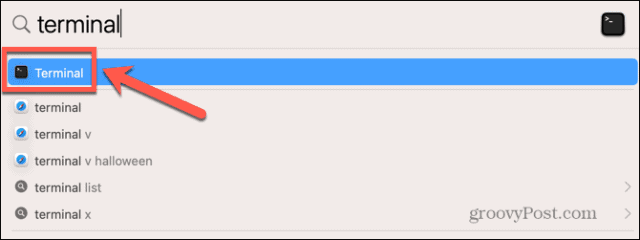
The first step in using an installer to install macOS on a new SSD is to create the installer itself. You’ll need a suitable flash drive or external hard drive, and a copy of the macOS installer for the version of macOS you require. To create a bootable macOS installer:
Ventura: sudo /Applications/Install\ macOS\ Ventura.app/Contents/Resources/createinstallmedia –volume /Volumes/MyDriveMonterey: sudo /Applications/Install\ macOS\ Monterey.app/Contents/Resources/createinstallmedia –volume /Volumes/MyDriveBig Sur: sudo /Applications/Install\ macOS\ Big\ Sur.app/Contents/Resources/createinstallmedia –volume /Volumes/MyDriveCatalina: sudo /Applications/Install\ macOS\ Catalina.app/Contents/Resources/createinstallmedia –volume /Volumes/MyDriveMojave: sudo /Applications/Install\ macOS\ Mojave.app/Contents/Resources/createinstallmedia –volume /Volumes/MyDriveHigh Sierra: sudo /Applications/Install\ macOS\ High\ Sierra.app/Contents/Resources/createinstallmedia –volume /Volumes/MyDriveSierra: sudo /Applications/Install\ macOS\ Sierra.app/Contents/Resources/createinstallmedia –volume /Volumes/MyDrive –applicationpath /Applications/Install\ macOS\ Sierra.appEl Capitan: sudo /Applications/Install\ OS\ X\ El\ Capitan.app/Contents/Resources/createinstallmedia –volume /Volumes/MyDrive –applicationpath /Applications/Install\ OS\ X\ El\ Capitan.app
How to Use a Bootable Installer to Install macOS
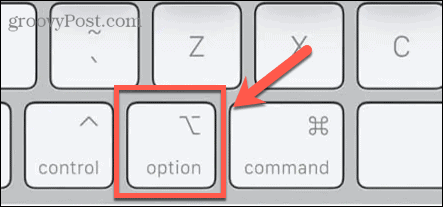
The way that you use your installer will be slightly different, depending on whether you’re using an Intel Mac or a newer Mac that has Apple Silicon. To use a bootable installer to install macOS on an Intel Mac: To use a bootable installer to install macOS on an Apple Silicon Mac:
How to Install macOS on a New SSD Using Carbon Copy Cloner
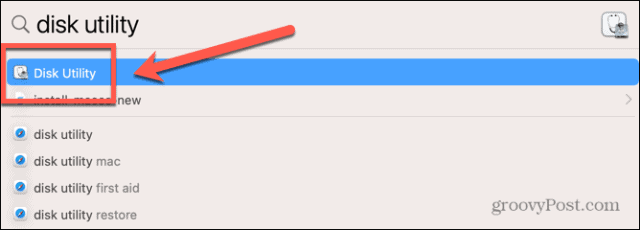
Installing any operating system on your computer has the potential to go wrong, so it’s always a good idea to back up your Mac before you make any changes to it. If you want to be sure that macOS installs correctly on your SSD before you install it, then you can mount it in an external hard drive enclosure. You can then use Carbon Copy Cloner to install macOS on the SSD as if it were an external disk. This allows you to test your installation of macOS before you install the SSD in your computer. It means you have peace of mind that the installation went as planned before you start opening up your Mac.
What is Carbon Copy Cloner?
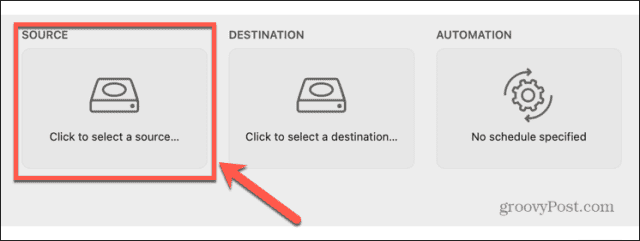
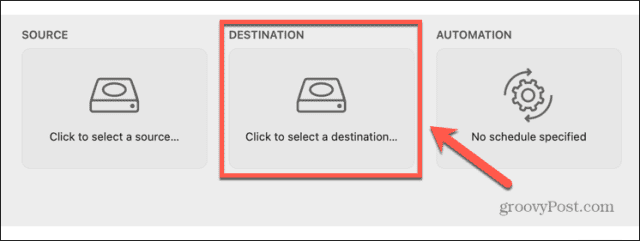
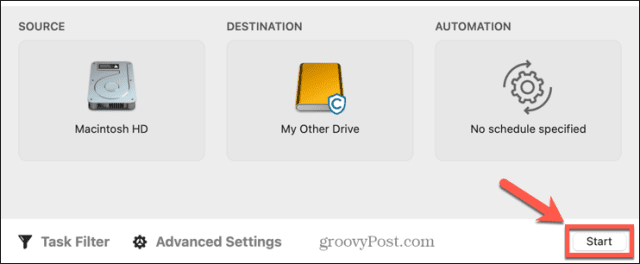
Carbon Copy Cloner is an app that allows you to clone a copy of your hard drive to an external drive or flash drive. Although this is a paid app, there is a 30-day free trial that allows you to use the full features of the app. To install macOS on an SSD using Carbon Copy Cloner:
Get More From Your Mac
Learning how to install macOS on a new SSD can help you breathe new life into an older Mac or allow you to upgrade the SSD you currently use. There are plenty more ways that you can get more from your Mac. If you’re running out of storage, you can map a network drive on your Mac to give you more space to work with. You can create shortcuts on your Mac to automate repetitive tasks or create home automations. You can also use Focus on Mac to remove distractions when you’re trying to work. I noticed that older macs need to use extended to partition the ssd but new ones (i assume operating system?) needs to use APFS. Would installing SSD first using Extended and then installing Ventura cause problems because ive selected a method that works with an older OS or once it’s partitioned, does it not matter? What would be the correct order of exectuiong to upgrade… – Memory – SSD – OS to venture via Patcher? Comment Name * Email *
Δ Save my name and email and send me emails as new comments are made to this post.
![]()
