Install a Language Pack in Windows 10
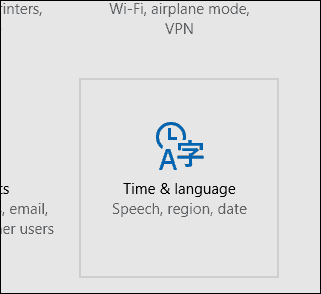
First, you need to ensure you have a supported edition of Windows 10, such as Home, Pro or Enterprise. If you’re running Windows 10 Home Single Language, you’ll need to upgrade to the Pro version to add languages. The Single Language version usually comes preinstalled on new computers. Click Start > Settings or Press Windows key + I then click Time & Language.
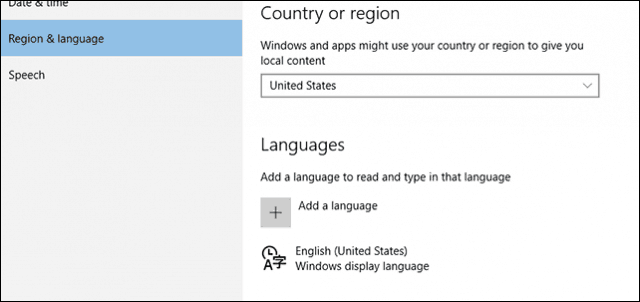
Select the Region & Language tab then click Add Language.
Select a language you would like to install. For this article, I will go with Spanish.
You might notice there are subgroups for a particular language, select the appropriate language based on your region or dialect.
Return to the Region & Language tab and then select your Language.
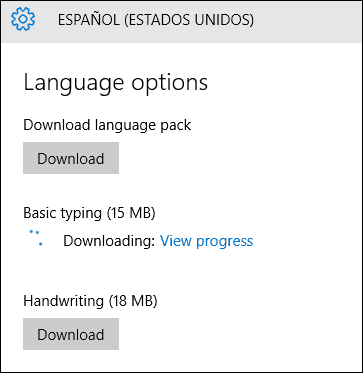
If the download stops, restart the computer, then reopen Region and Language, select your language then click Options > Download again.
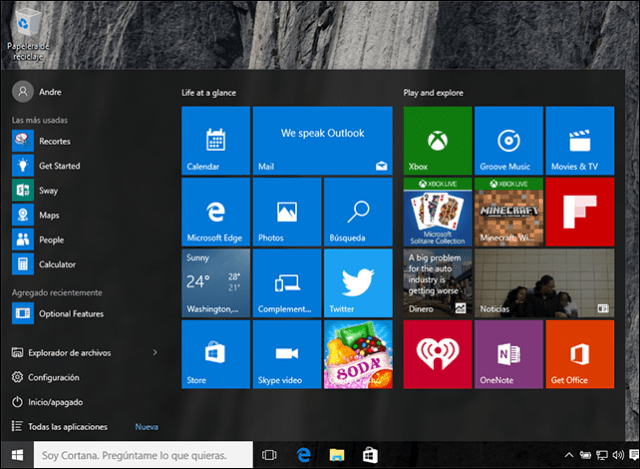
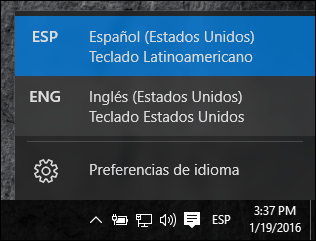
When complete, return to the Region & Language tab then click your Language then click Set as default. Restart your computer, log in, you will now see menus, labels and field boxes in your native language. I notice not all words are translated, so the OS will not be completely fluent. When you want to switch languages on the fly, click the Language menu in the Notification Area on your Taskbar, and choose your language.
Installing Optional Features
If you like to write or type in your native language, you can install these functions as additional features. Open Regions and Language, select your language, then click Options. Click Download.
You can install as many languages you want too. Do you speak more than one language and use Windows? If so, let us know in the comments. Gracias! When using the English Language pack there is no way to be able to access Cortana which makes it a bit useless for the millions of English speaking users in France. Comment Name * Email *
Δ Save my name and email and send me emails as new comments are made to this post.
![]()

