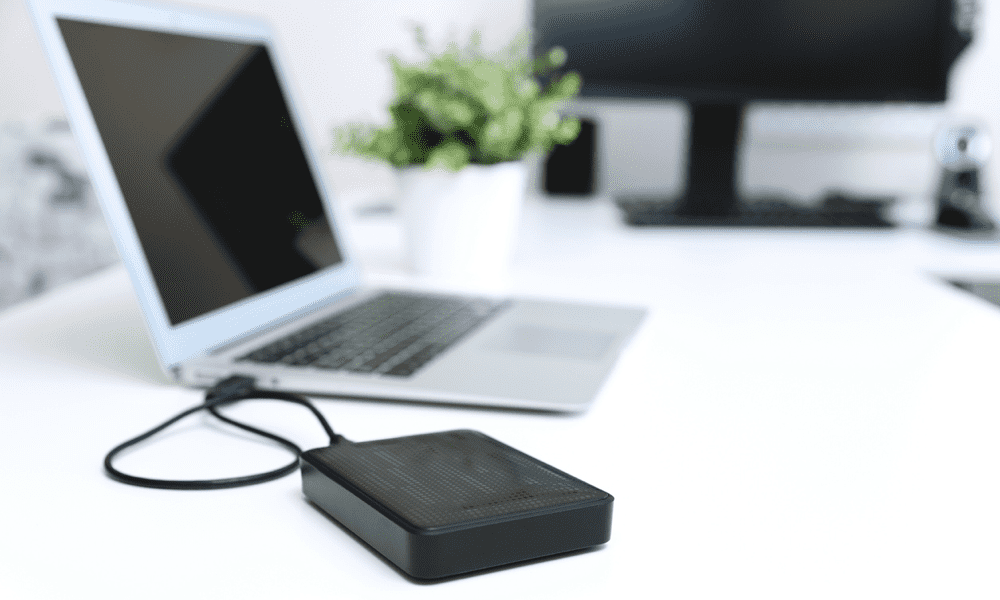
There’s always a risk involved in installing any new operating system, however. If things go wrong, you could end up wiping files you had no intention of destroying. You might also want to be able to run macOS, but not want the hassle of setting up a dual boot system. The good news is that you can run Linux on your Mac without touching your current macOS installation or making any changes to your hard drive. That’s because it’s possible to run Linux directly from a bootable USB drive. If you’re ready to give Linux a try without having to install it, we’ll explain how to create a bootable Linux USB drive on your Mac below.
Why Create a Bootable Linux USB Drive on Mac?
There are a number of reasons why you might want to create a bootable Linux USB drive for your Mac. The beauty of a bootable drive is that you don’t need to make any changes to your macOS installation to run it—everything you need is on your USB drive. It means that you don’t have to worry about messing anything up on your Mac. When you’re done, just restart, take out the USB drive, and boot into macOS as normal. Another benefit is that it means you can take Linux with you wherever you go. Want to use someone else’s Mac? Just plug your USB drive in and you can run Linux on their machine too. Creating a bootable USB drive is also a great way to try out different Linux distros without having to install and then uninstall each one.
How to Create a Bootable Linux USB Drive on Mac
To create your bootable USB drive, you’ll need a few things. Firstly, a USB drive with about 4GB of storage. Then you’ll need your Linux distro. You’ll also need a way of writing the Linux ISO to the USB drive. You can do this using Terminal, but in this example, we’ll be using a free tool called Etcher. And of course, you’ll need your Mac. Once you’ve got everything you need, there are just two main steps to create your bootable Linux USB drive: format your USB drive and then write to it.
How to Format Your USB Drive
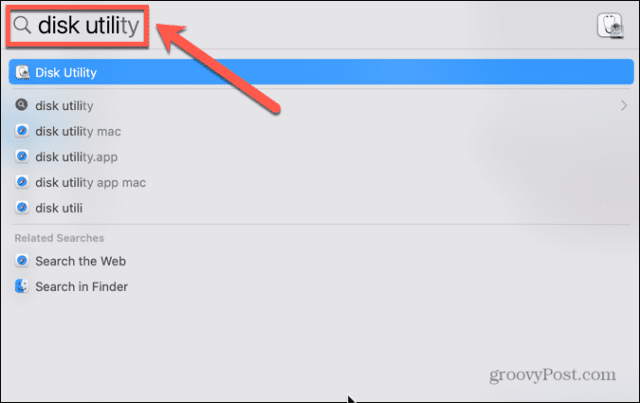
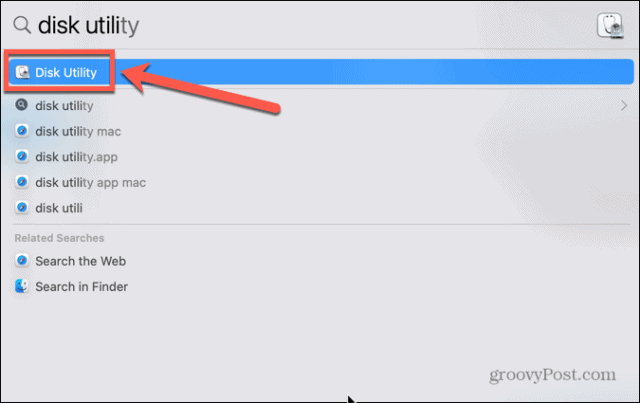
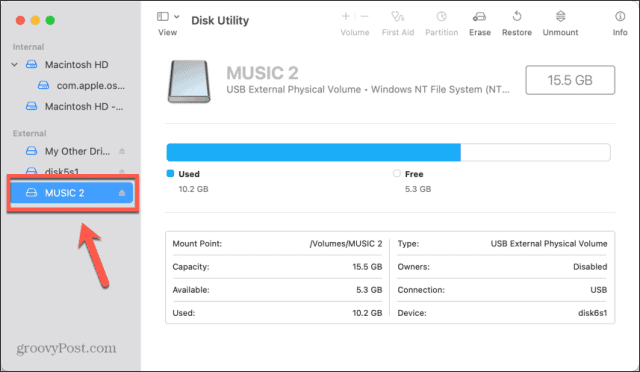
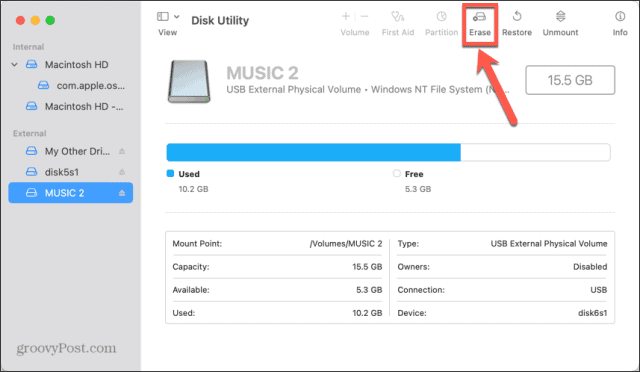
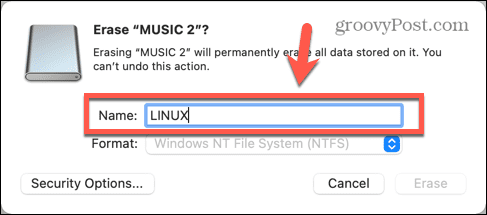
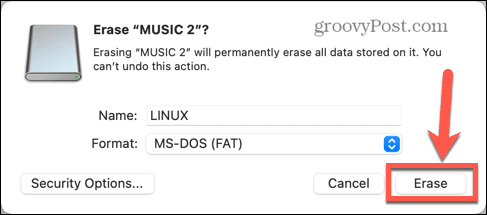
Formatting your USB drive ensures that it’s in the correct disk format and is ready to be written to. You can format the drive in macOS. To format your USB drive:
How to Install Etcher
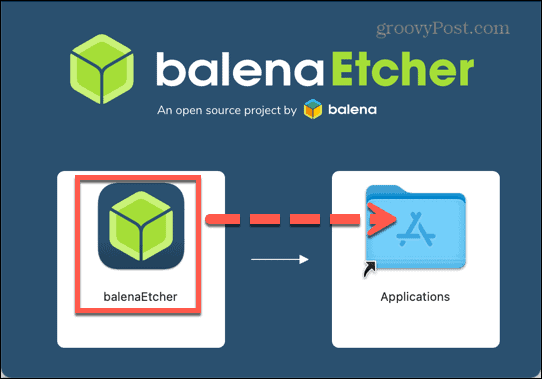
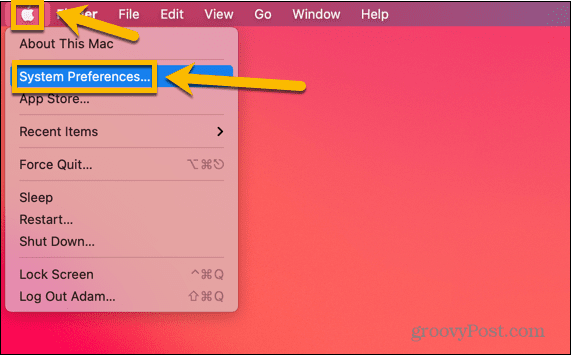
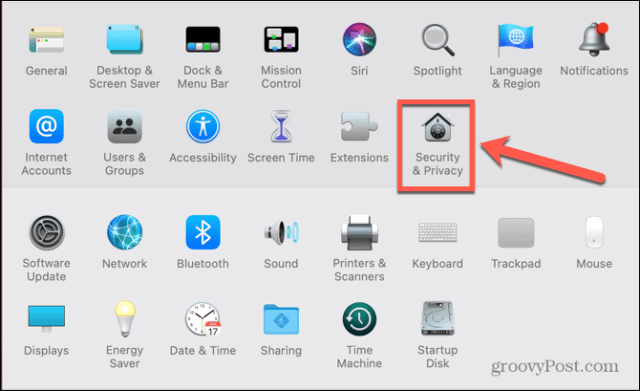
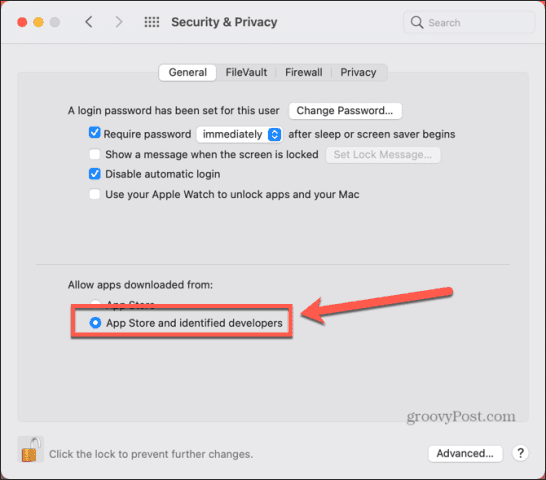
If you don’t already have it on your Mac, you’ll need to download and install Etcher, which is the app we’ll be using to write the ISO file to your USB drive. To install Etcher on Mac:
How to Write to Your USB Drive Using Etcher
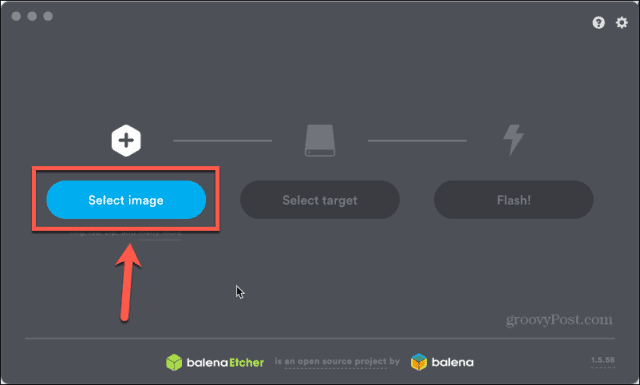
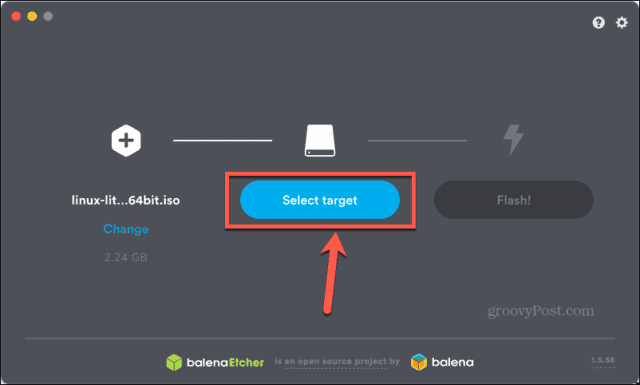
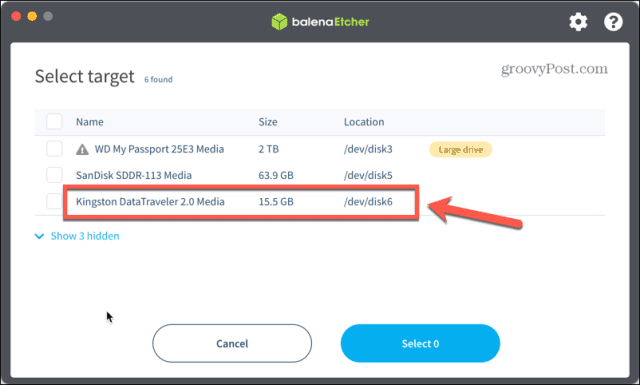
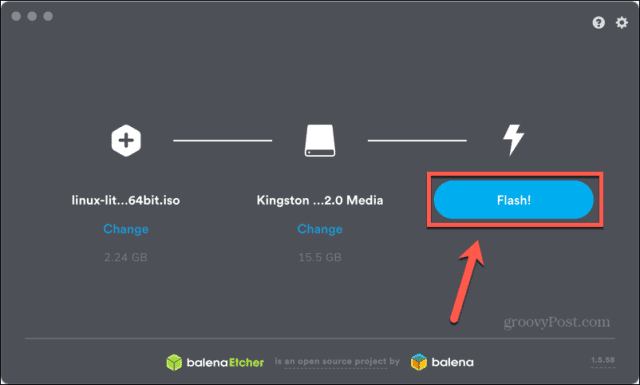
Once you have installed Etcher, you’re ready to write your bootable image to your USB drive. You’ll need to download the image for the version of Linux you want to install. There is a wide variety of bootable Linux distros to choose from, each with its pros and cons. Once you’ve decided what flavor you want to run, you can use Etcher to write it to your USB. To write to your USB drive using Etcher:
How to Boot Your Mac From Your USB Drive
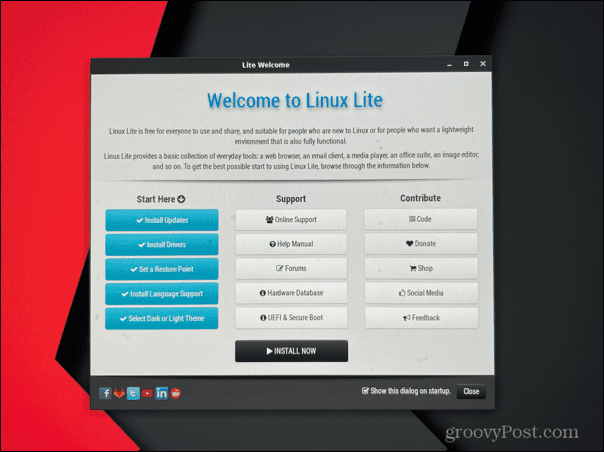
Now that your bootable USB is done, you’re ready to start running Linux on your Mac. To do so, you’ll need to restart your Mac so that it can boot from the USB drive. To boot your Mac from your USB drive:
Learn More About Linux
Learning how to create a bootable Linux USB drive allows you to use Linux on any computer without the need to install it. You can run Linux wherever you want, and then simply restart your computer without the USB drive in place to return to your regular OS. If you’re ready to go, you’ll need to make sure you pick a bootable USB Linux distro that suits your needs first. If you’re new to Linux, there’s a lot you can learn. You may want to know how to securely delete files in Linux to completely remove the data from your hard drive. If you’re using Linux on a small USB drive, you may need to know how to check disk space on Linux. Once you’ve found your way around Linux, you might want to learn how to set environment variables in Linux. Comment Name * Email *
Δ Save my name and email and send me emails as new comments are made to this post.
![]()
